|
Kit: MS480/481; SugarCube6; LifeLink with 4x 470uF Tall Tantalums
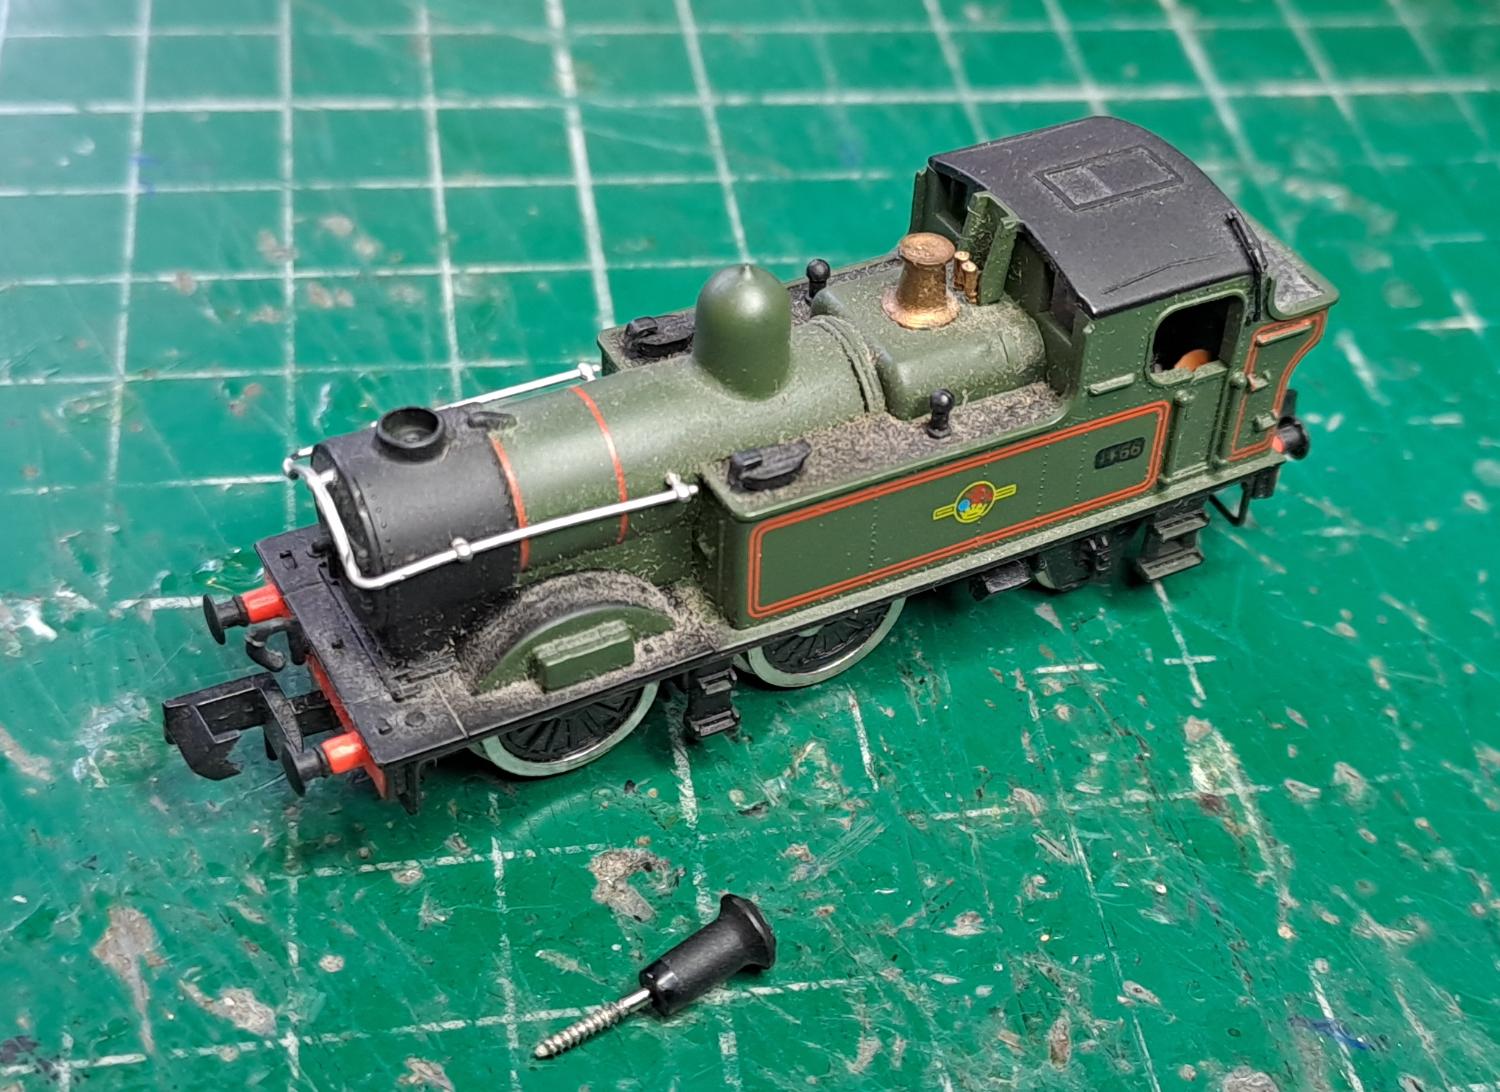
Something a bit different with a challenge - DCC sound is never going to fit in the loco of the little Dapol 14XX in N gauge,
so we permanently wire back to an Autocoach for sound and stay-alive.

A tiny screw in the chimney holds this on, and on removal allows the boiler to unclip and be removed.

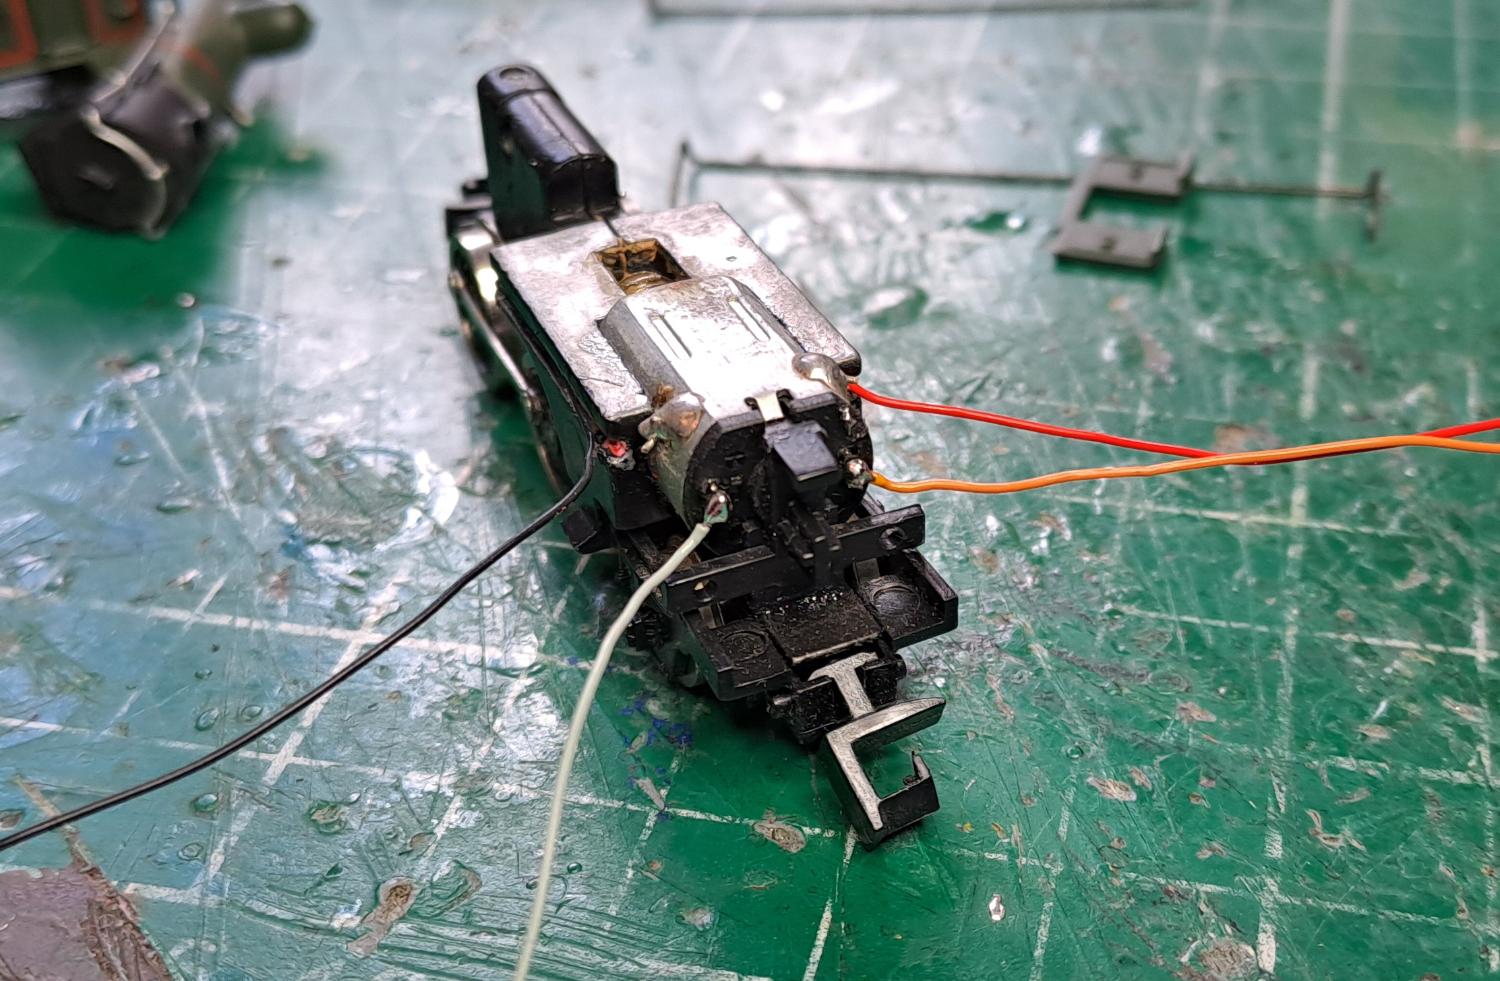
We remove the supressor caps and the original wiring so we can put some fresh neat new wires in. We are going to use Zimo
sensor wire, which is ultra-thin and flexible (we stock this but it is not generally listed so if you need some then you'll
need to ask us directly).
 
Fresh wires soldered in and a spot of glue to hold the pickup wires in their channels along each side.
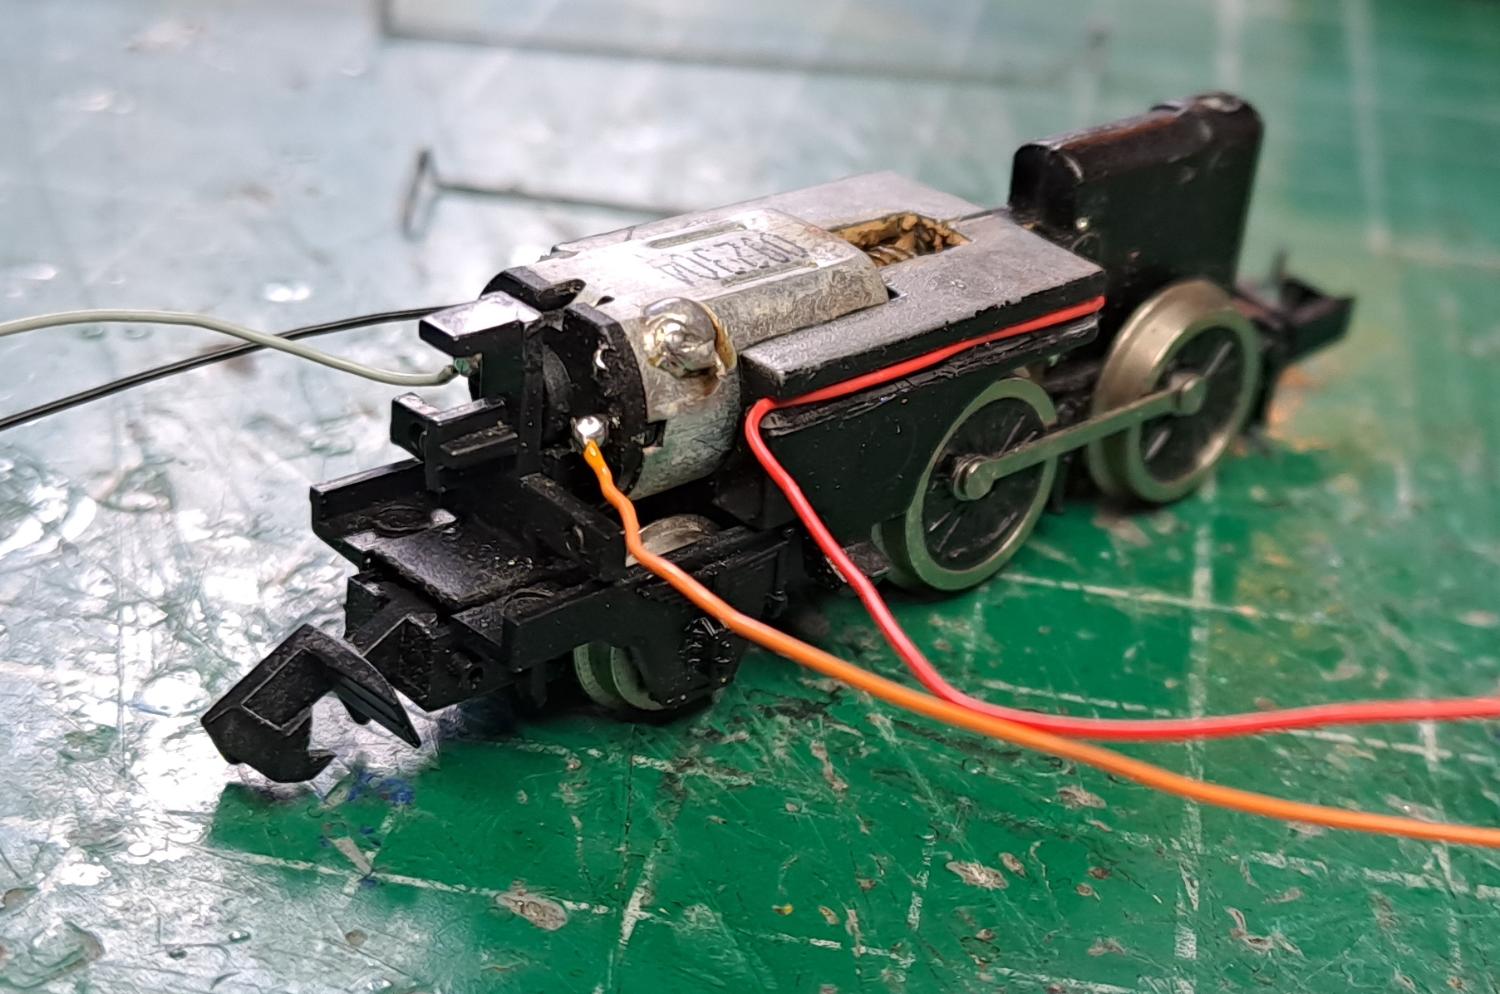
Now to prepare a hold in the back of the bunker for the 4 wires to come through - start small and work it larger until it is
just large enough for all 4 wires.
 
 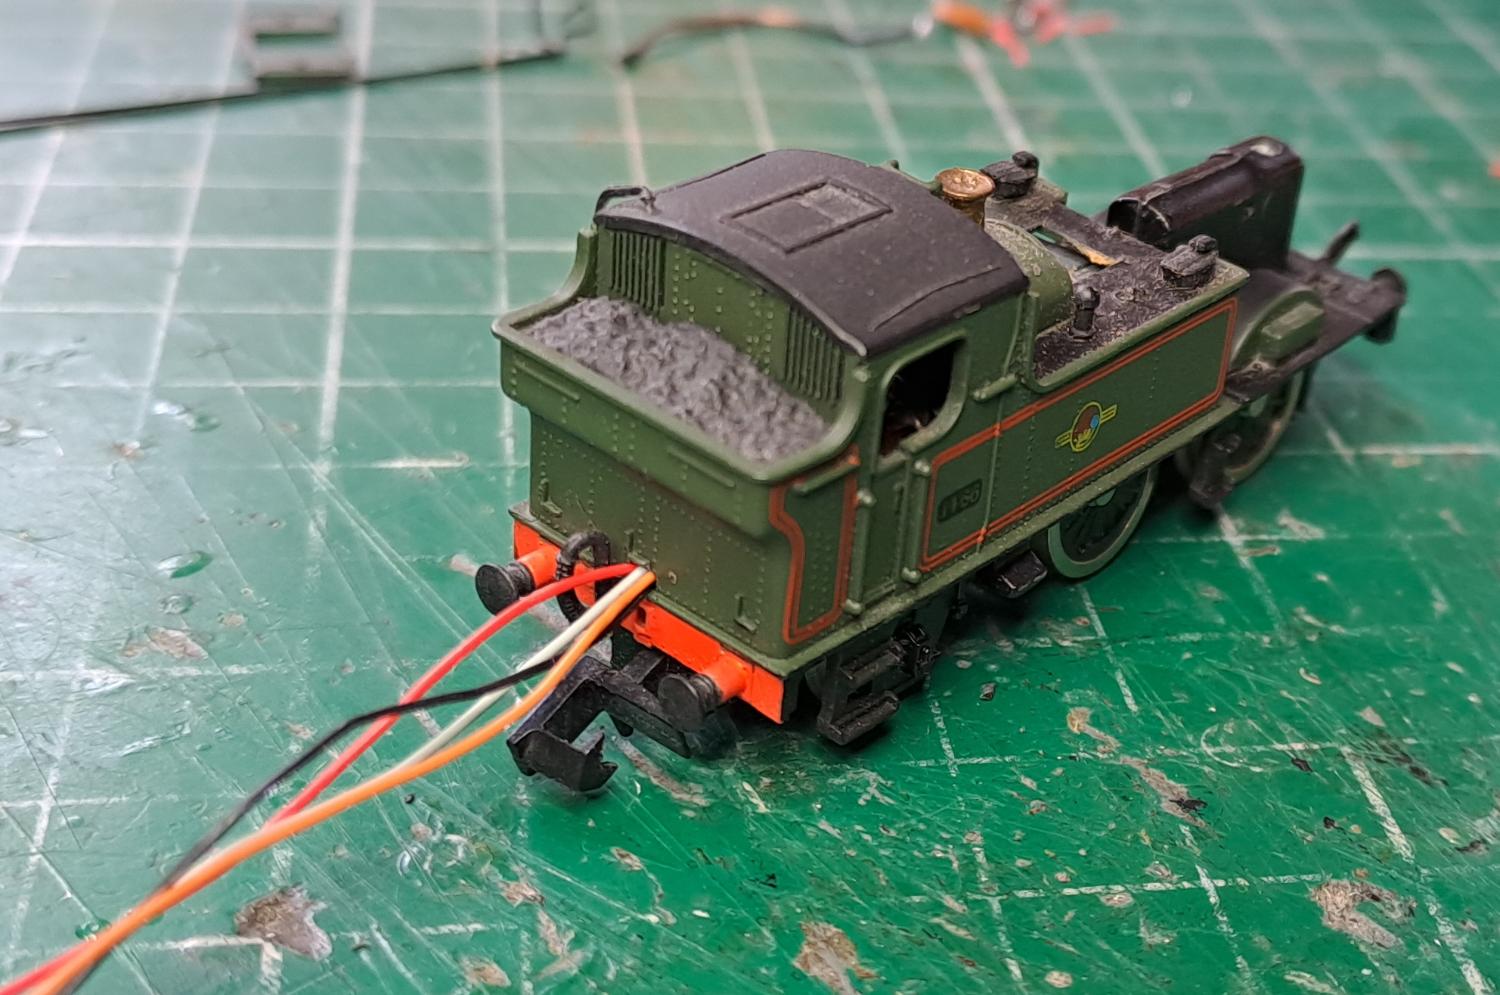
The engine is done, and could be tested on DC again to make sure it still operates. Next on to the Autocoach where all the kit
will go...
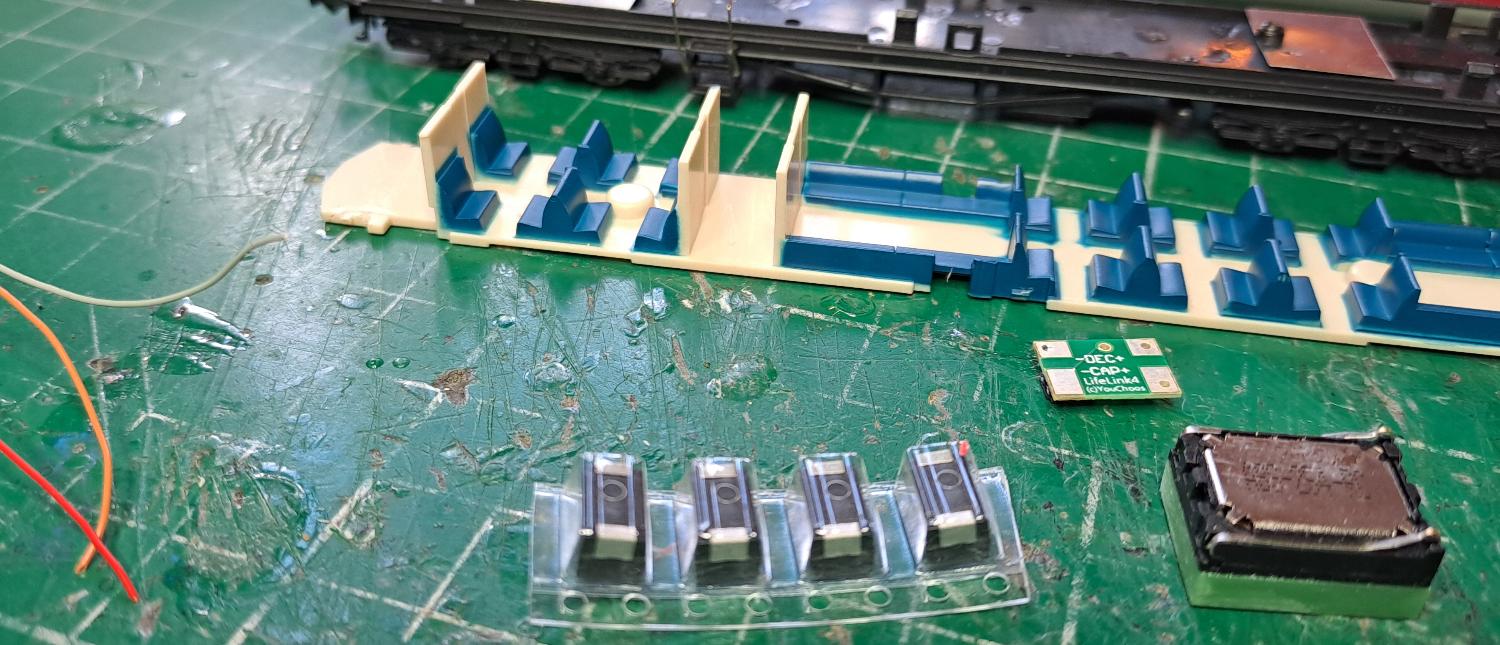
We need an area at the back large enough for decoder, speaker and stay-alive, so some seat removal is required.
 
Drill a hole in the back of the Autocoach just large enough for the 4 wires.

Decoder and speaker are wired in at the back, then the stay-alive goes in the centre a bit further forward. This is a Farish
Autocoach, so we just need to figure out something that works in this particular model.
 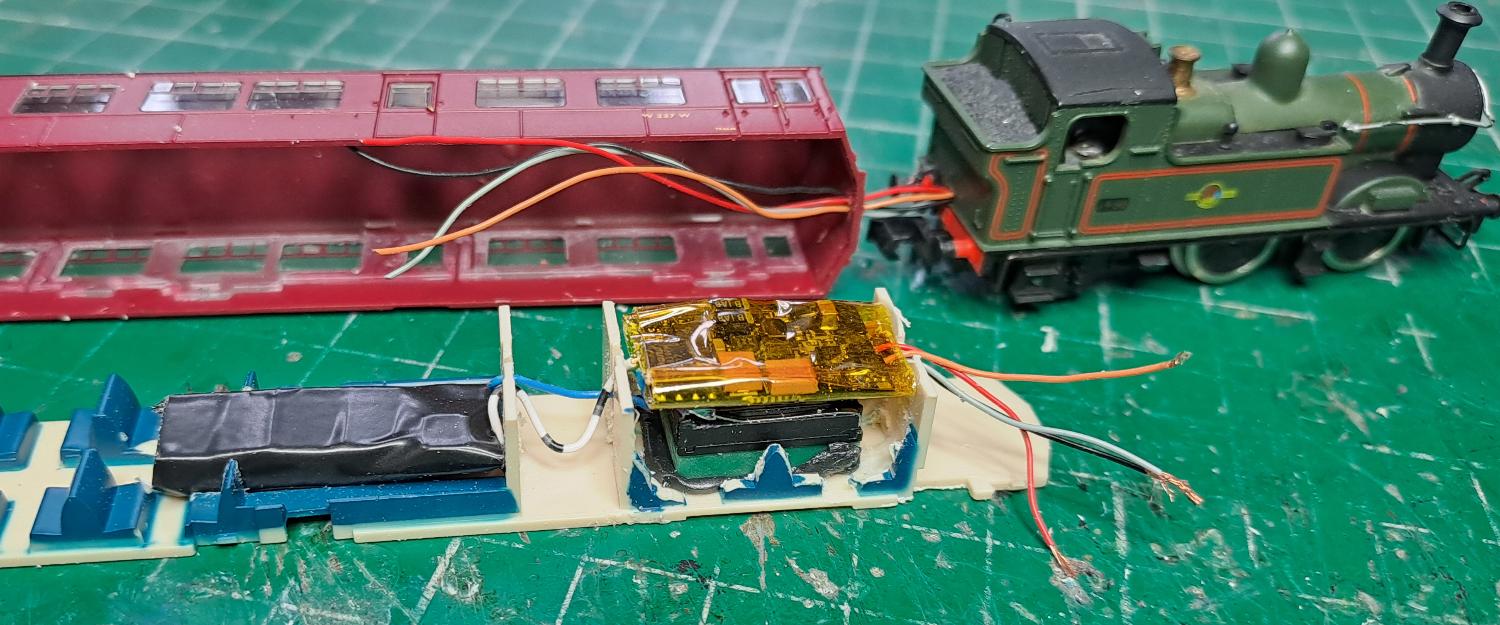
 

All in place, wires pulled through to make them shorter, and we can pop the Autocoach body back on and try it out. We'll paint
the visible wires black later to better disguise them. We use black electrical tape over the windows of the section that has
the kit, so none of it is visible from the outside.

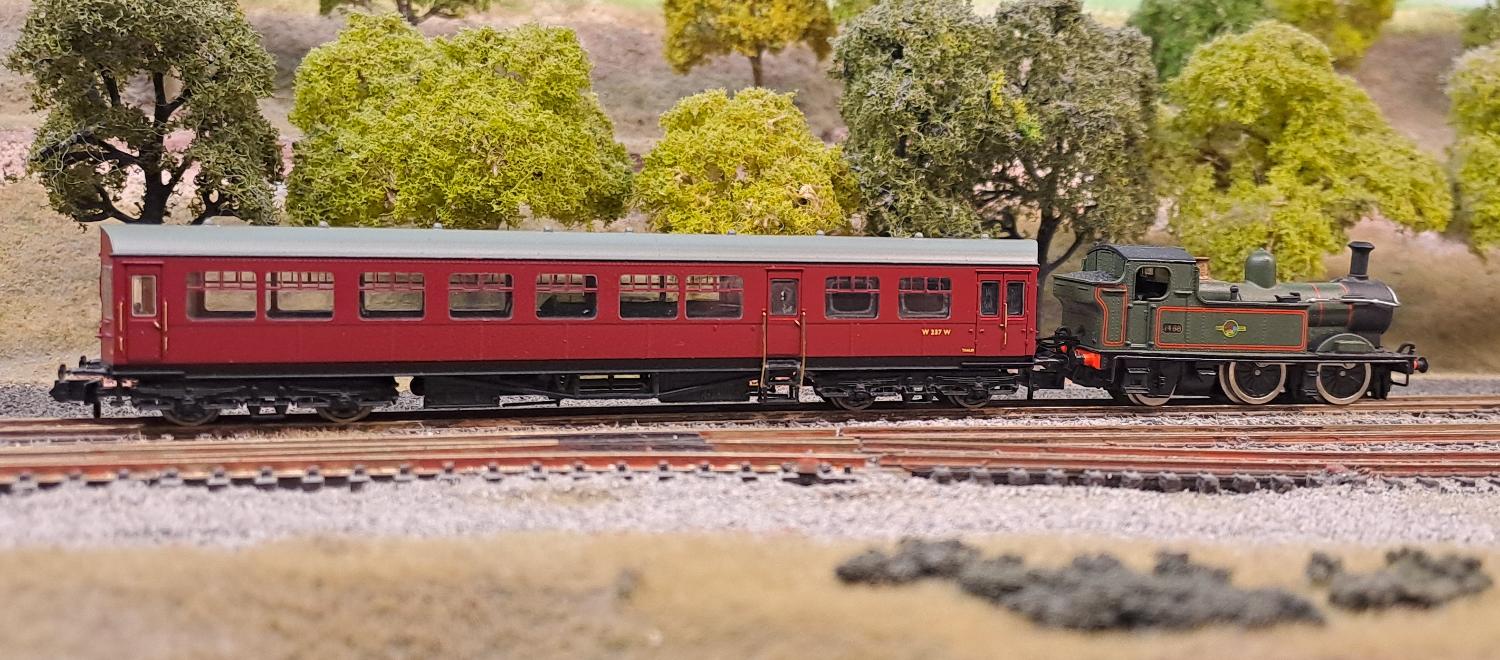
In their splendid final glory, and below its' GWR equivalent, that Autocoach being a Dapol model.
 
|


 About YouChoos
 Privacy Statement
 How to Order
 Testimonials
 Useful Links
 Services
 Contact
 Facebook